
Gentle Sciatic Nerve Glide for Happier Hamstrings
Gentle Sciatic Nerve Glide for Happier Hamstrings
If you have sciatic nerve tension holding back your flexibility training any time you try to stretch your hamstrings, adding some nerve mobilizations like a glide and a tensioner during your warm up can help alleviate some of that tension so you can make sure your later stretching as addressing the muscle, not just tugging and tensing your sciatic nerve even further.
Sciatic Nerve Mobilization Best Practices:
Focus on the sensation, not what the exercise “looks” like. Don’t worry if your leg is nowhere close to straight, getting all the way straight is not the goal, we’re trying to avoid any intense stretching
Keep it gentle. Remember, nerves don’t like to be stretched, so you should be moderating the movement to stop before the sensation of a stretch
Don’t go overboard (more is not better). Stick to just 10-15 glides (and 10-15 tensioners) per leg, 1-2 times per day. No more! Over-working the nerves can increase nerve tension (the opposite of what we’re aiming for!)

How To: Sciatic Nerve Glide
The goal of a sciatic nerve glide is to help our nerve slide back and forth by gently put our sciatic nerve on tension on one end while it’s on slack on the other end, essentially giving it a gentle tug to slide, and then reversing, putting it on tension on the previously-slackened end, and slackening the previously-tensioned end, let it slide back the other way.
Start lying on your back. Bend your right knee and support the back of your right thigh with your hands. Point your right foot/ankle
Start to straighten the right leg, but stop when you start to feel the beginning of a stretching sensation (or any inklings of nerve tension: back pain, tingly feet, etc). We’re not trying to find a deep stretch here, this should be no more than a “3 out of 10” intensity of a feeling in the back of your leg
Flex your foot, and slowly drop your heel back toward your butt (it doesn’t have to touch, really you can just relax the leg)
Point your foot once you’ve returned to start, and repeat for 10-15 reps total on the right leg, then switch legs

How To: Sciatic Nerve Tensioner
The goal of a sciatic nerve tensioner is to (still gently!) pull on your nerve into a sensation of light tension as you move a joint, then release it to slack - helping it adapt to slightly greater amounts of tension over time (similar to hypertrophy in strength training).
Start in the same back-lying position as for the nerve glide (flat back, right knee bent, supporting the back of your thigh with your hands), but this time flex your foot/ankle (reach your toes toward your shin)
Keep your foot flexed as you start to straighten your right leg. Stop when you start to feel the beginning of a stretch (in your hamstrings, calves or feet) - you may not be straightening your leg or kicking your foot as high as when you had your foot pointed in the nerve “glide” exercise - that’s OK! Remember, we’re not actually trying to find a stretch here, we’re trying to stop short of the stretching sensation
Slowly lower your foot back to start. Repeat for 10-15 reps total on the right leg, then switch legs
When to Incorporate Nerve Mobilizations in Your Training
Typically the best time to incorporate nerve mobilizations into your stretching routine is either during, or right after your warm up (before you do any of your deep stretching). It can be helpful to re-do the sciatic nerve tension test first to check in with how much tension you are (or aren’t!) feeling that day, since nerve tension can vary based on multiple factors, including stress. If you find there are days where you have especially high tension, it’s best to keep the mobilizations even more gentle, and skip the “tensioner” exercise completely (just do your 10-15 “glides”).
Related Content
Recommended On-Demand Workshop
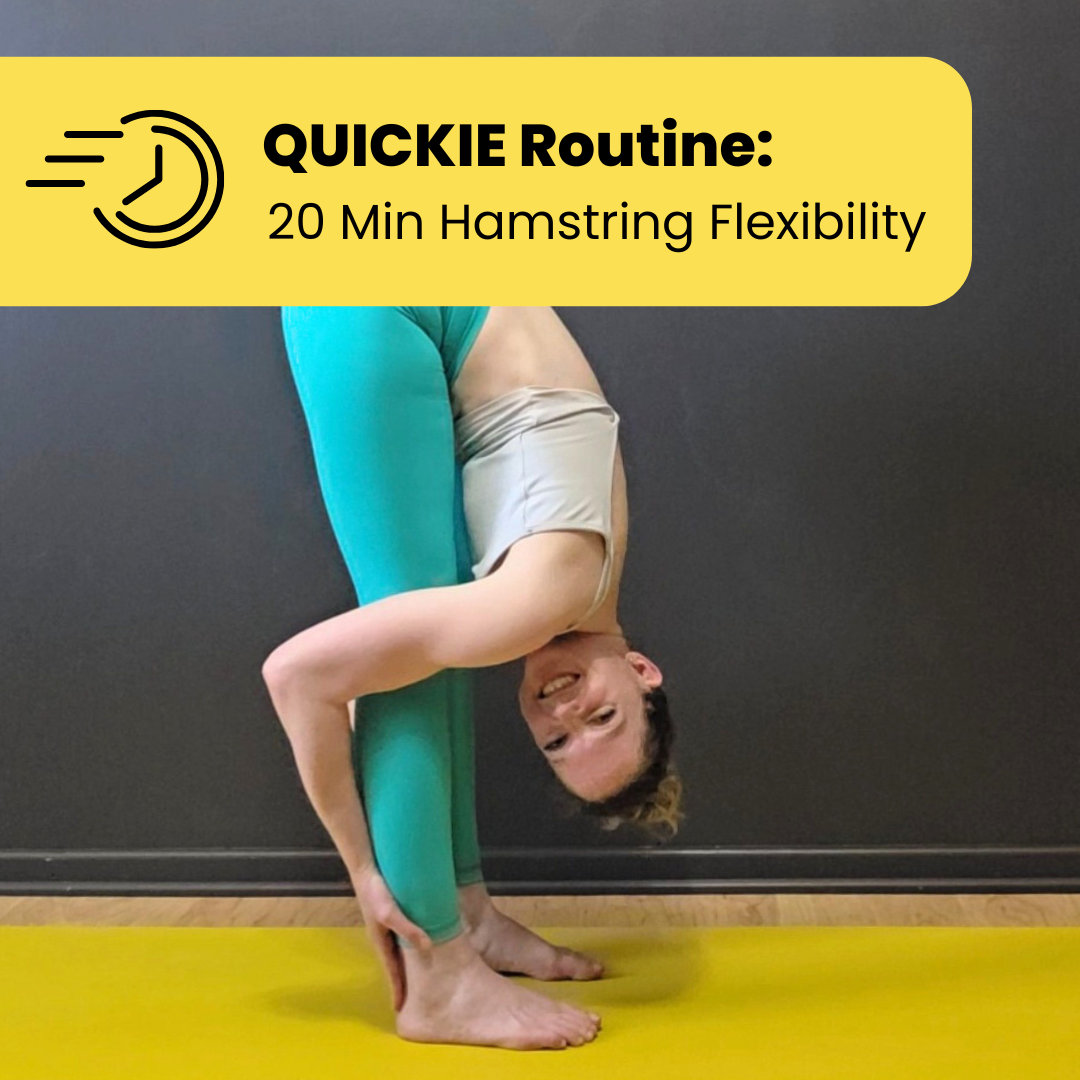
Who this routine is for:
This 20-30 minute training routine is targeted to students who want to work on their hamstring flexibility for deeper forward folds. Modifications of drills are given for all levels - whether you’re someone who’s working to finally be able to touch their toes, or whether you’re a more advanced student trying to get their belly all the way to their thighs in a forward fold, this workshop has drills for you!
What you get:
THIS IS NOT A FOLLOW-ALONG VIDEO like the majority of my other recordings. Instead, this is a written routine that includes detailed how-to videos for each drill, as well as educational content to help you maximize your progress in your hamstring-training journey.
This PDF includes:
Flexibility training best practices
Anatomical considerations for training hamstring flexibility
How to modify the drills to make them easier or harder as your flexibility progresses (spoiler alert: bending your knees is encouraged!)
How to test to see if you have nerve tension that will impact your training (and how to adjust accordingly)
Suggestions for training frequency
A program of drills with how-to videos explaining proper form, what sensations to look for, what muscles to engage (if needed), and how to modify to adjust the difficulty/intensity for each drill. The “default” routine is meant to fit a 20-minute training session
Additional recommended drills (along with how-to videos) for another 10 minutes of training for students who want to extend their practice to a 30-minute session
A printable all-on-one-page list of drills for quick reference
Heads up: Because each of the how-to videos is filmed as an educational video with comments on form, technique, and modifications - and not as a “follow along with me” style video, the videos will likely take longer to watch than to actually execute the exercise. So plan on your first run-through of this routine to take longer than 20 minutes because you’ll likely be watching the videos in their entirety which will take a bit longer (and then just skimming through them for reminders in the future).
Recommended props:
Yoga mat (knee padding is your friend!)
Some kind of long strap - can be stretchy or stiff
2 yoga blocks
A chair or bench (very helpful for folks with tight hips)