TIPS, TRICKS & HOW-TOs
The Bendy Blog: Flexibility Training Articles
Jump to:
Splits & Leg Flexibility / Back & Shoulder Flexibility / Beginner-Friendly / Contortion / All Posts
ALL POSTS
Most Recent
Recent Posts
TIPS, TRICKS & HOW-TOs
Jump to:
Splits & Leg Flexibility / Back & Shoulder Flexibility / Beginner-Friendly / Contortion / All Posts
ALL POSTS
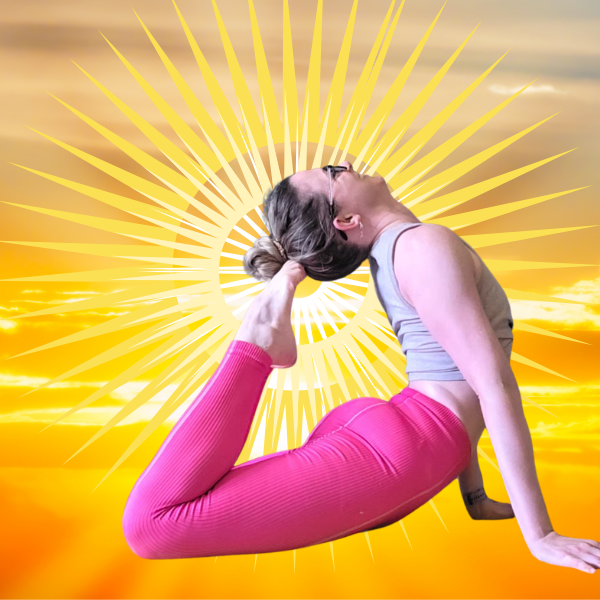
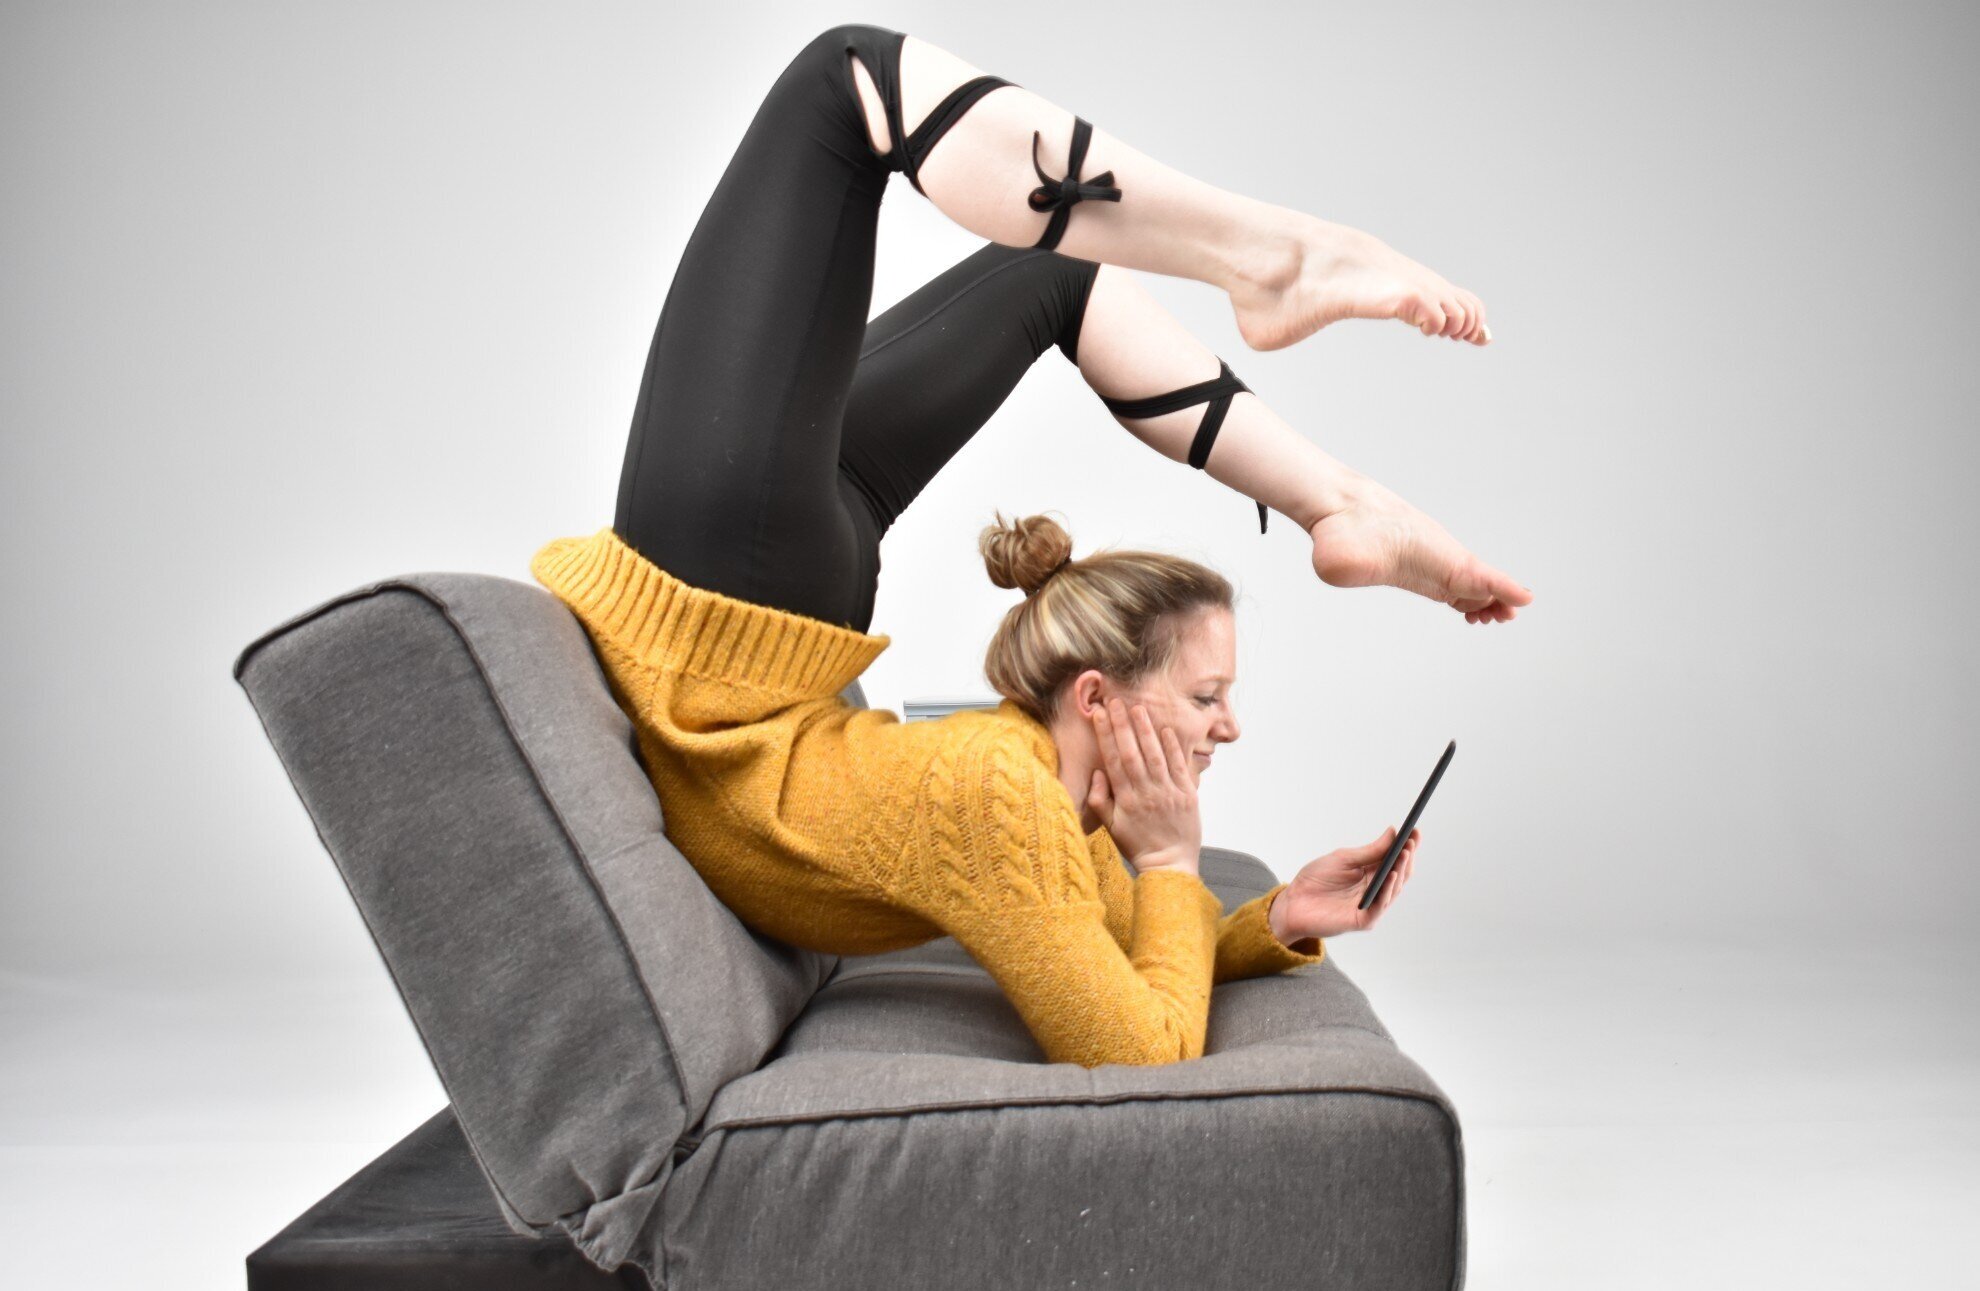
Being able to touch your toes to the back of your head in a backbend (like in King Cobra pose or King Pigeon pose) is a fun flexibility goal to work towards because: a) it looks cool, and b) it encourages you to work on backbending flexibility through the full backbending chain. So you can’t (usually) get away with just having a bendy lower back, you need to work on the whoooooole length of your body to build up the flexibility (and strength!) to be able to pull those feet all the way to tickle your head.
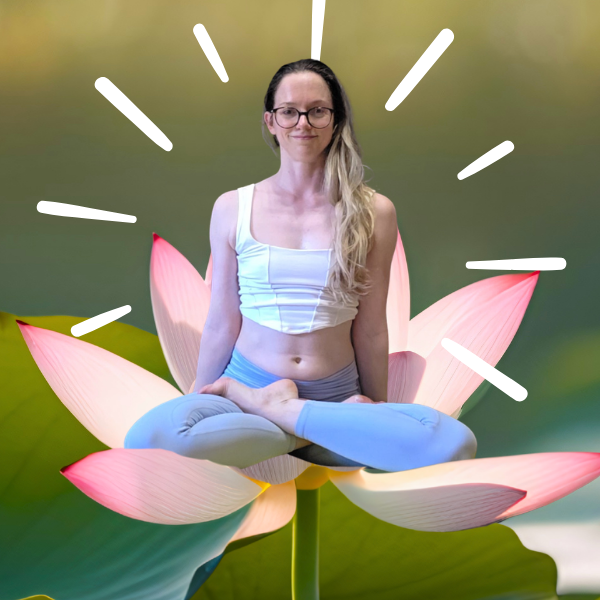
Earlier this week I wrote about working on hip flexibility for sitting cross-legged more comfortably, so it seemed only fitting to continue this topic further to the next goal some folks sometimes to aspire to: being able to sit in a “full lotus” pose. Both poses are actually quite similar in the ranges of motion required in the hips, but lotus just requires more flexibility in these areas . .
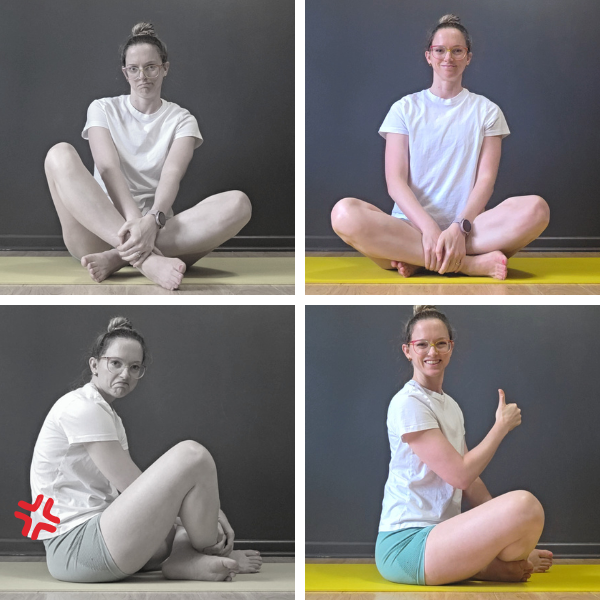
Being able to comfortably sit cross-legged on the floor (aka “criss cross applesauce” as I’m told the cool kids call it these days) can be a frustrating challenge for bodies with tight hips - especially as we get older. Gone are the days of our youth, happily sitting on the floor during story time. Instead, trying to sit on the floor for any extended period of time may now result in a butt cramp or a cranky low back . . .
On the plus side, being able to sit on the floor without a) looking like a hunched over gremlin and b) not incurring nagging pain is a very achievable goal!
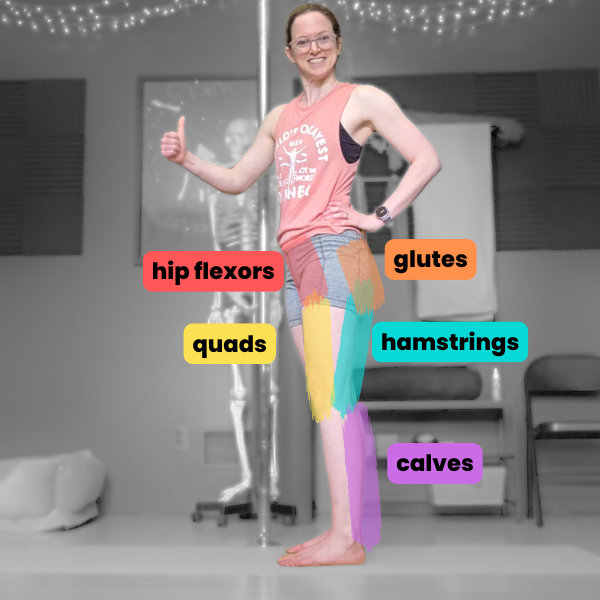
For all my runner or cyclist friends out there, here’s a great short stretching routine you can do right after your run/ride that hits the major lower body muscle groups worked: quads, hip flexors, hamstrings, calves, and glutes. You can “choose your own adventure” with this one, either sticking to the more “traditional” passive stretches for a feel-good stretch-out of the areas you just spent a whole workout contracting, or you can choose a more “active flexibility” approach and opt of the variations that include a strengthen-while-you-stretch component to mor effectively work on your flexibility of these areas.
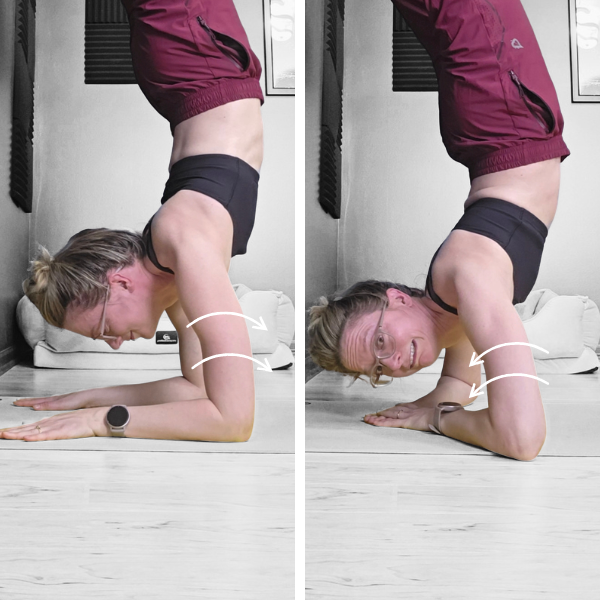
So you’re setting up for your forearm stand: you’ve got your elbows shoulder width apart, forearms firmly pressing into the ground, shoulder shrug muscles engaged! Then you kick your feet up, and oh no - your elbows are slooowly starting to slide out to the sides, no matter how much you squeeze them in! What’s going on?
The “elbow splay” is a challenge many students face, even folks with relatively flexible shoulders. The two biggest reasons this happens are…
There are lots of reasons you may want to work on your arms-overhead shoulder flexibility. From a practical standpoint, we want healthy shoulders to allow us to reach things overhead without pain. And many hobbies require flexible (and strong!) shoulders for being able to perform skills with “proper” form, like handstands or bridges in yoga, Biellmann spins in figure skating, needle poses in cheerleading, Eagle or other backbend-y foot grabs in pole dancing - the list goes on!. So let’s take a look at what you need to know when it comes to safely and effectively training your overhead shoulder flexibility so you can get more open shoulders.